Showing posts with label chair. Show all posts

Saturday, October 8, 2011

The Epic Thrift Chair Makeover

I have a lot of unfinished projects in my house. This is the story of one thrift store chair.

It was at least 9 months ago that I discovered a hidden gem of a thrift store here in Bloomington. For you townies, my secret place is called "Thrift Store" (creative, right?) on Walnut Street near Bloomington HS South. On my first ever trip there, I was still on a cane chair kick after cruising Pinterest. As fate would have it, guess what was sitting there front and center?


But really, it actually looked like this before I got my hands on it:
After a couple of not-so-intelligent Goodwill purchases, I promised myself that I'd take a photo and sit/sleep on it whenever I found a piece of furniture at the thrift store. This is the cell phone pic the followed. 

Fast-forward a few days and I got this chair and its identical twin home for $25 each!! They still didn't look - or SMELL - much better once I got 'em in the house. Being a safety person in "real" life, you won't have trouble freaking me out about mold and spores, so the "fragrance" emanating from the stained and torn cushions were convincing enough to banish them to the outdoors. (Likely? no. Odorrific? yes.) Here's a photo shoot of some of the details before I started thinking about black mold.

Cool Detail!
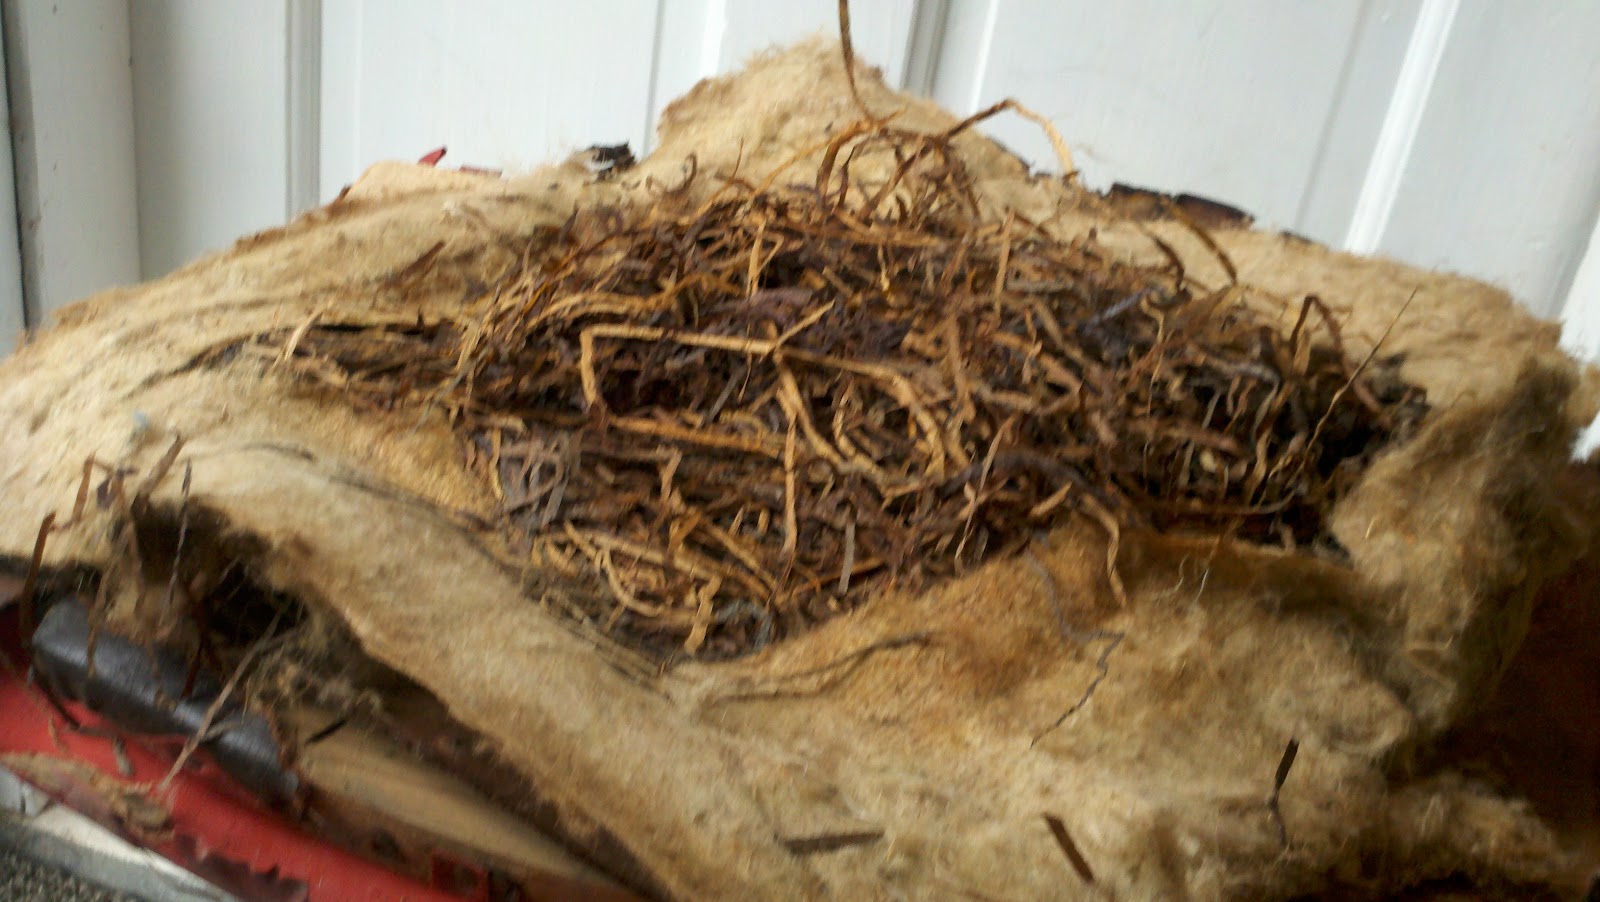
This moldy stained cushion is SO photogenic. 


Oh yeah -- and here was the icing on the cake. This photo really doesn't come close to showing you what this stuff was really like! Maybe a 500-pound person sat in this chair daily for years... this pre-makeover chair was a seating hazard!


These chairs sat around in the house f.o.r.e.v.e.r. while I gathered up the things and the time to work on them. The cushions, needless to say, were completely gone and I threw them away. I spent the next few weeks with a hammer, flat head screwdriver, and needle-nosed pliers pulling out the tacks and staples that held the seat on. It was so old and crumbly, it did not come off without a fight. Hundreds of those tiny little staples!

The Frame Overhaul
Besides the seat, the frames of both chairs were sturdy and in great shape. My first step was sanding -- sanding and sanding and sanding. I used a 80 and then 100 grit sandpaper, which seemed to work ok. Don't use anything smaller than that if you do this yourself... I found that the 60 grit left pretty deep "scratches" that took a while to smooth out with a finer grit.

I spray painted both chairs with Rustoleum Semi-Gloss White, which took 2 cans per chair. I used a really fine grit (180) sandpaper to smooth out the bumps once it all dried. (Nope, I didn't get endorsed for this, but I do like the sprayer head on the Rustoleum spray paint cans because they're not as messy as others I've used.) The top coat is brush-on MinWax poly in Clear Gloss, to help protect it and give it a little shine. A little of this stuff goes a long way.


The frames sat around with empty seats for another really long time. All it took was some jute strapping and a chair torture tool called a stretcher (both which you can purchase at Jo-Ann's) . 

Sorry I don't have any in-progress photos of this, but what you do is staple or tack one of end of the strapping to the frame, then put the pointy ends of the stretcher through the jute, rest it against the frame, and pull down so you're pulling the strapping extremely taut. Staple the other end. I would've needed three hands to take photos of this! The idea is to criss-cross them to make the seat.

Here's the final product:

Sewing and Making Cushions
Fast forward some more and I learned to sew. There are two really good tutorials out there. I used:
...Except I didn't discover these tutorials until AFTER I'd done all of this engineering (that degree had to be good for something, right?). 
Nerd alert!

Ok, so moving on. I sewed a bunch. I ordered the fabric, by Thom Felicia, from Calico Corners. The randomness of the pattern seems to offset the rigid structure of the back rails. Time for some sewing pics!
This is how you do corners.... and attach piping.

Sewing projects take a lot of thinking! Here's a corner where the zipper joins, inside-out.


You NEED a zipper foot, not just to do the zipper, but for the piping.
Did I tell you I'm proud of my sewing? Before this, all I knew how to do was hem my jeans and pants, so I'll tell anyone who's willing to listen. :) Moving on. I bought some foam from Jo-Ann Fabrics, cut it to size, and wrapped it with soft but thick batting. If you do this, make sure you buy this stuff in stages over a few weeks - these supplies are not cheap... they cost more than the chairs themselves! I cut them to size (minus an inch+ on each size to allow for batting) and carefully shoved them into the cushion.


For the throw pillows, I just bought an insert from Ikea. The throw pillows are still missing something. I feel like the orange piping is good, but doesn't stand out enough. It just looks like a plain white pillow. Anyone have ideas?
Last steps: Place cushions in the seats, put throw pillow on top, and buy a little table from TJ Maxx. (ps- still not sure what to do with the green rug, it's a little much. )


How about a little celebratory B&A?


It feels good to actually finish a project. How about you? Are you sitting on any half-complete projects?

post signature

Linked up at:

Monday, January 10, 2011

How to Re-Upholster A Chair

I finished the Goodwill chair last week! But before the big reveal I will also post the photo documentation of each step along the way. 

So, in photos, I present to you:

How to Re-upholster a Chair

1) Buy an old chair. Look for stability of the chair itself. Wobbly chairs are fixable, but if you can find one that's not wobbly, you might save a lot of time. This particular one was covered in a stiff red vinyl, and while the structure of the chair was very sturdy, it had a dimple in the middle of the seat (if you look closely, you can see it. Your butt sinks in when you sit in it- not comfy.). The wood had seen better days, the chair was extremely dirty, but just needed some TLC.
No, the chair isn't actually slanted... I'm just not a good photographer!


2) Turn the chair over and unscrew the seat screws to remove it. If you look, there are seat screws at 12 o'clock and 6 o'clock on this chair. It wasn't hard to take off, but the screws were very old!


3) Remove the current seat upholstery. If you're lucky, you'll only have to pry out a few staples. In my case, there were upholstery tacks holding the vinyl on.  Lots of them! 

When I took the vinyl off, I found yet another material covering the wooden seat; it appears to have been originally covered in leather. Unfortunately, years of exposure to moisture caused the leather to grow mold... which was a nice little surprise. So, I had to move the party out to the garage (hence the recycling bin in the background) once this was discovered. Look:


That wasn't the only shocker. When I pried the leather off, it was so brittle it just cracked and peeled off like thick cardboard. Then, I found out why the seat had a dimple -- it was filled with what looked like husks and shredded paper. Thousands of sits later, that stuff had no "cush"!  Being the safety professional I am, I handled all of this moldy stuff with gloves and a dust mask (my personal protective equipment).

Removing all of this finally revealed the seat!  Unfortunately, the front of the seat, where the upholstery tacks had been, cracked all the way through.


4)  Fix the chair's structural issues. This could be a project in itself, especially if there are large pieces missing out of the wood, parts of the chair are missing (like a rail) or if it's just extremely unstable.
My issue was the dimple in the seat, since you can see that the picture above shows the burlap covering permanently stretched. I also had to figure out how to repair the edge of the seat.
You can get straps to staple in and stretch across the seat to give it back its spring, but that didn't solve the seat edge issue.

As a fix, I used a jigsaw to cut a piece of wood roughly in the shape of the seat (yes, I used PPE). I nailed it to the original seat. The plywood I used was 1/4" thick, and didn't cause an issue because of the foam I used later. The photo shows how the seat fits onto the chair, but you wouldn't want to attach it just yet.


 5) Clean and polish the wood. It's a bummer you can't see the difference in the wood, but after cleaning it up with water, removing decades of dust improved the chair slightly. Next step: Lemon oil. It can help to restore and clean the wood if it's already in decent shape. Apply lemon oil to a soft towel and rub the wood down, being generous with oil.
This chair frame had specks of white paint splatter on it, which, after rubbing down 3+ times with lemon oil, came off easily with a fingernail and did not damage the chair. The wood just sucked this stuff up!! As a bonus, the oil made the chair smell like lemons. :) For any of the rough areas with wood splinters or dirt that wouldn't come off, I sanded very lightly with super-fine sandpaper, then applied extra lemon oil on top. After three applications over the course of 6-10 hours, the chair looked darker, less aged, and much more polished.


6) Apply foam and batting to the seat. Cut 1" foam (green in the photo below) to the shape of the seat, leaving 1" extra past the seat's exact dimensions. I also did a rough bevel of the foam with some sharp scissors, but it's not totally necessary if you're using batting. You can get this foam by the yard anywhere you can buy fabric. While you're there, buy some batting. I used organic bamboo batting, but the synthetic kind will work just fine. I bought some that was thick enough to conceal the bump of the plywood seat I cut out, but you have a lot of flexibility here. Cut the batting and allow at least 5 inches past the seat's edge (10 inches total).  You can trim later, but it's harder to fix if you don't allow enough material.  Lay that down, the place the foam down with the seat on top. Pull the batting so it's taut and staple approximately every 3-4 inches, about 1 inch from the edge of the seat.. Trim excess material once the batting is secure.


If you're doing a lot of upholstery projects, I recommend an electric or pneumatic staple gun. I still use my manual gun that I got at Lowe's for $15.
Close-up of the batting covering, complete:


6) Cover and staple the fabric. Cut the fabric to at least 5 inches beyond each edge of the chair (10 inches extra again). If the fabric has any kind of a pattern, make sure it's straight and level when you lay the seat on the fabric. Just like you did to the batting, pull taut and staple.  Edges are tricky; I folded mine like a present, but do what looks best since every chair is shaped differently.
I used an upholstery fabric on my chair, but regular cotton print fabric can work just fine too, depending on how hard you're going to use this piece. I would choose the heavier upholstery fabric for a chair which will endure a lot of wear and tear. For my ottoman, as an example, I used regular thin cotton fabric since no one really sits on it.

Close-up of the seat, complete:


7) Home Stretch: Screw the seat onto the chair frame. Align the screws and re-attach. Make sure the seat is secure.
I had some issues with mine, since the thickness of the material between the frame and seat was too thick for the shallow screws that were originally used. I drilled two holes next to the original ones and used longer screws to make sure the seat would stay in place. The new screw's on the right, old one at left.


Turn the chair over, and tada!  Done in 7 steps.

Doing the math:
Chair - $7.54
Foam - $4.44
Batting - $2.29
Fabric - $3.66 (with coupon)
GRAND TOTAL: $17.93

...with plenty of material left over.

Here's the final product.

Sunday, January 2, 2011

A cheap chair.

On New Year's Eve, I went to Goodwill  in North Olmsted with my mom and bought this old wood chair for $7.54:


Voila. There's your before picture. I'm still working on the after, but here's a blurry preview which should keep you guessing.

Edit: Chair is officially complete! See it here.

LinkWithin

Related Posts Plugin for WordPress, Blogger...