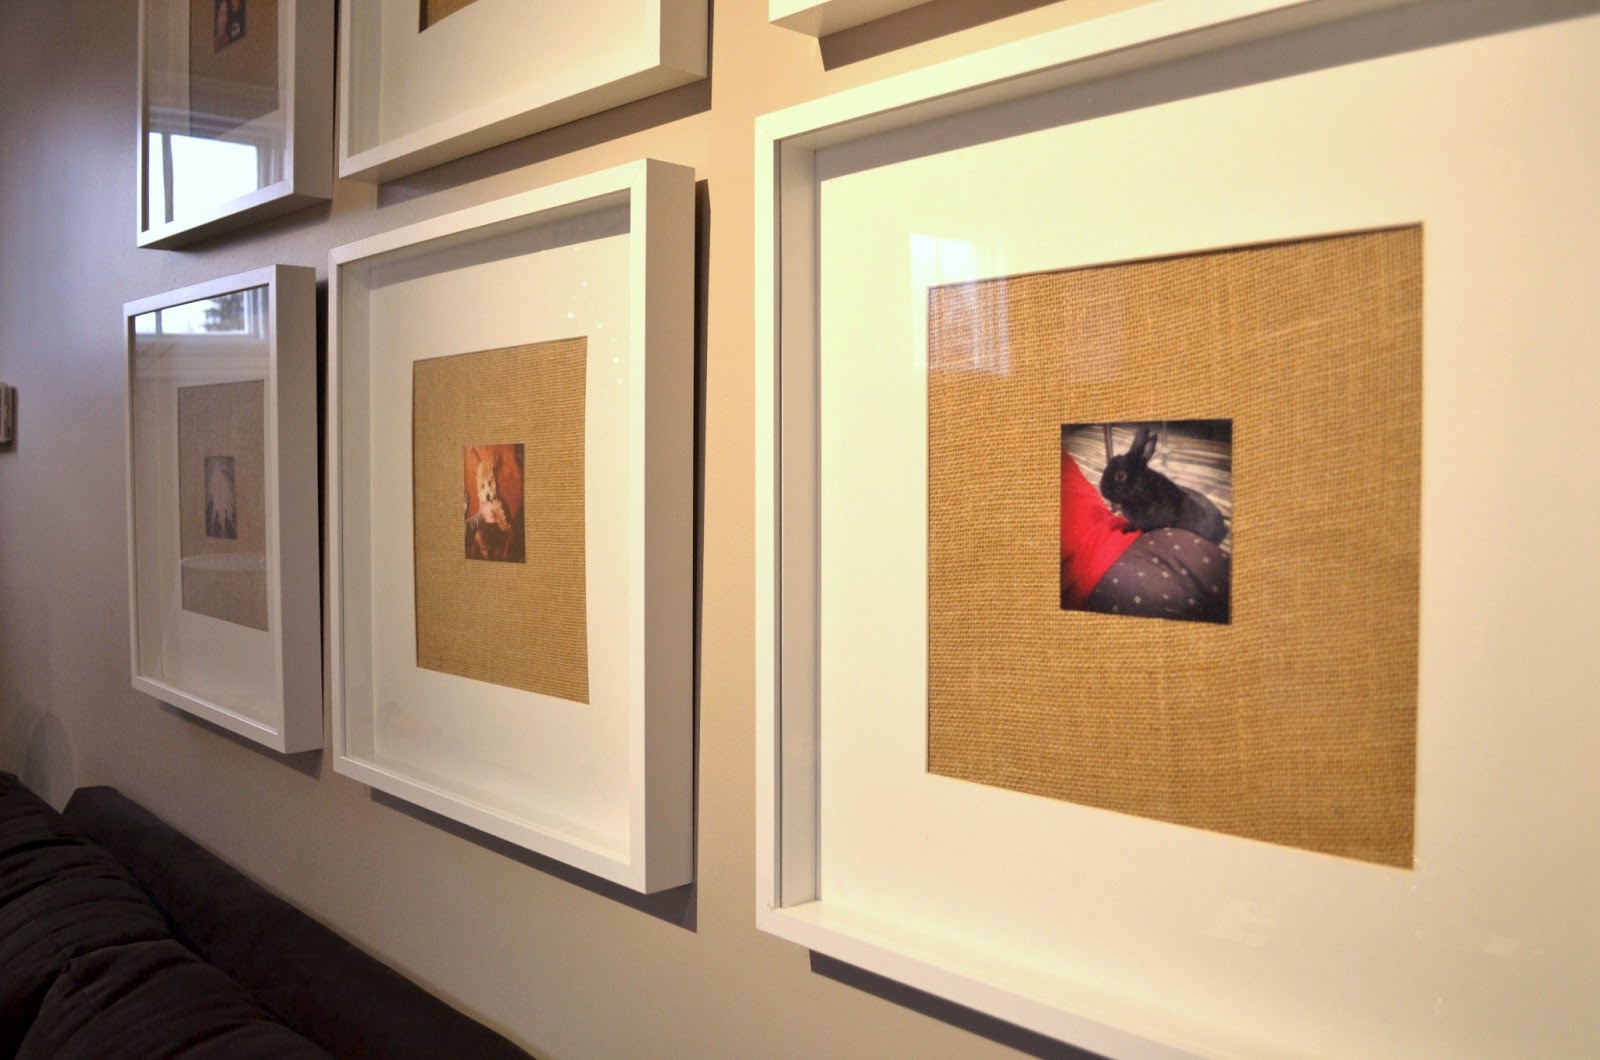
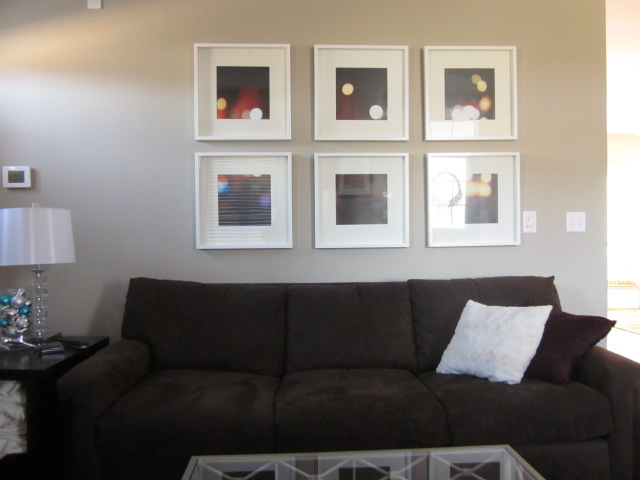
I just noticed that I've DIY-ed nearly all of the art that's hanging around this place. (I use the term "art" very, very loosely.) I'm still too wishy-washy to commit to some big investment pieces yet... buy one day, sick of it a week later. It's a vicious cycle. I'm choosing mostly art I made - albeit temporary - until I find the ones that speak to me.
So I'm dedicating this post and walking around the house, shooting some photos of the cheap art I have on the walls. And if you want to know how to make your own cheap art, I'll tell you a little more about them. Here we go!
Office

Shadow box, Ikea frame. I threw a bunch of fun mementos (and continuously adding) into the frame. So far, a NYC marathon bib, IU vs. Ohio State football tickets, a piece of quartz from the Colorado Rockies, and string from a Mike's Pastry box in Boston. I couldn't bring myself to throw these things away. Proof that I'm a closet hoarder?

This is a Goodwill frame that I re-stained a darker color. The photos are postcard reproductions of antique flower seed packets. I got the postcards from a cute shop called Bayleaf in Boulder, CO. If you're there, you'll want to buy ALL the things! - the store is on Pearl Street.

Ah, my Chevron paint chip art! I still love this. It's sitting on a picture ledge in the entry way. For the price of free, you can't beat it.

Here's my very first DIY project: a knock-off of a Crate and Barrel art print. Since Ben & I are all about numbers, this was really fun - it's actually a set of two, but I can't remember where the second one is...! If you look closely, you'll find some hidden numbers that are personal to us (nope, I didn't hide my social security number in it)-- zip codes, addresses, phone numbers.

Mantel
At left is the faux-zinc letter I made out of a recycled cereal box and a little acrylic paint. Next to it is a framed piece of fabric. (Fun fact: the fabric was cut off of my mom-in-law's tunic top that she got in Spain.) It's really pretty fabric!
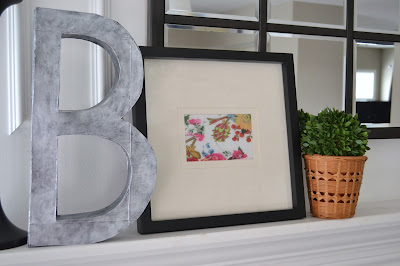
Another little Goodwill find project. This was a frame that I painted. The "8" tag was from the $1 section at Michaels last Fall.

Behind all of that is my crown masterpiece, the project that took forever and a half but was worth it: my DIY knock-off of the Pottery Barn Eagan mirror. Here it is, whole mantel and all.

Kitchen Drop Spot (...because it doesn't have a name)
Moving on, I have a few things on this little demilune table near the kitchen. At left: a free customizable printable from Wedding Chicks. Then, another Ikea shadow box inspired by Young House Love, filled with some keys and fun mementos. No, that's not a real ring - it's probably worth $3 if I'm lucky but was a part of our love story. :) Note: if you do this yourself, I suggest using Zots and not hot glue. The rock kept falling off! Vase is from Ikea, and the green bowl is from West Elm.

Dining Nook
The items filling frames in the gallery wall were intended to be temporary, so here's the dining nook.
This, below, is a West Elm napkin glued to an Ikea frame back. I made the knot out of cord used for piping (sewing), from Hobby Lobby. If you do this, tie up the ends of the cord with tape, or else it'll fray. The cord is secured to the napkin with painter's tape (sshh! no one else EVER know!)

.jpg) The full gallery wall, starting clockwise from 1 o'clock:
The full gallery wall, starting clockwise from 1 o'clock:
1) "B" Monogram printable, another free customizable printable from Wedding Chicks. Thrifted frame with a scrap fabric-covered mat.
2) Watercolor painting. Watercoloring is fun! I made this gradient painting in about 2 minutes. A close-up is below. This is an Ikea frame.
3) Ampersand on canvas. Painter's tape + grey paint.
4) Bloomington run map. I actually ran a route that traced heart shape around Bloomington. Don't recommend - who knows what seedy parts of town you'll end up in!
5) Ikea tree print. Black and white tree "scribble" art. You can't see it anyway, and unfortunately, it's no longer sold at stores.
6) Pre-made black and white nature print. Purchased at Garden Ridge circa 2008. A "1" on the exciting scale.
.jpg)
Bathroom
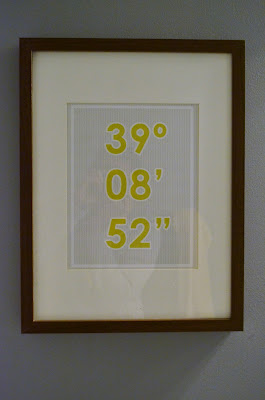
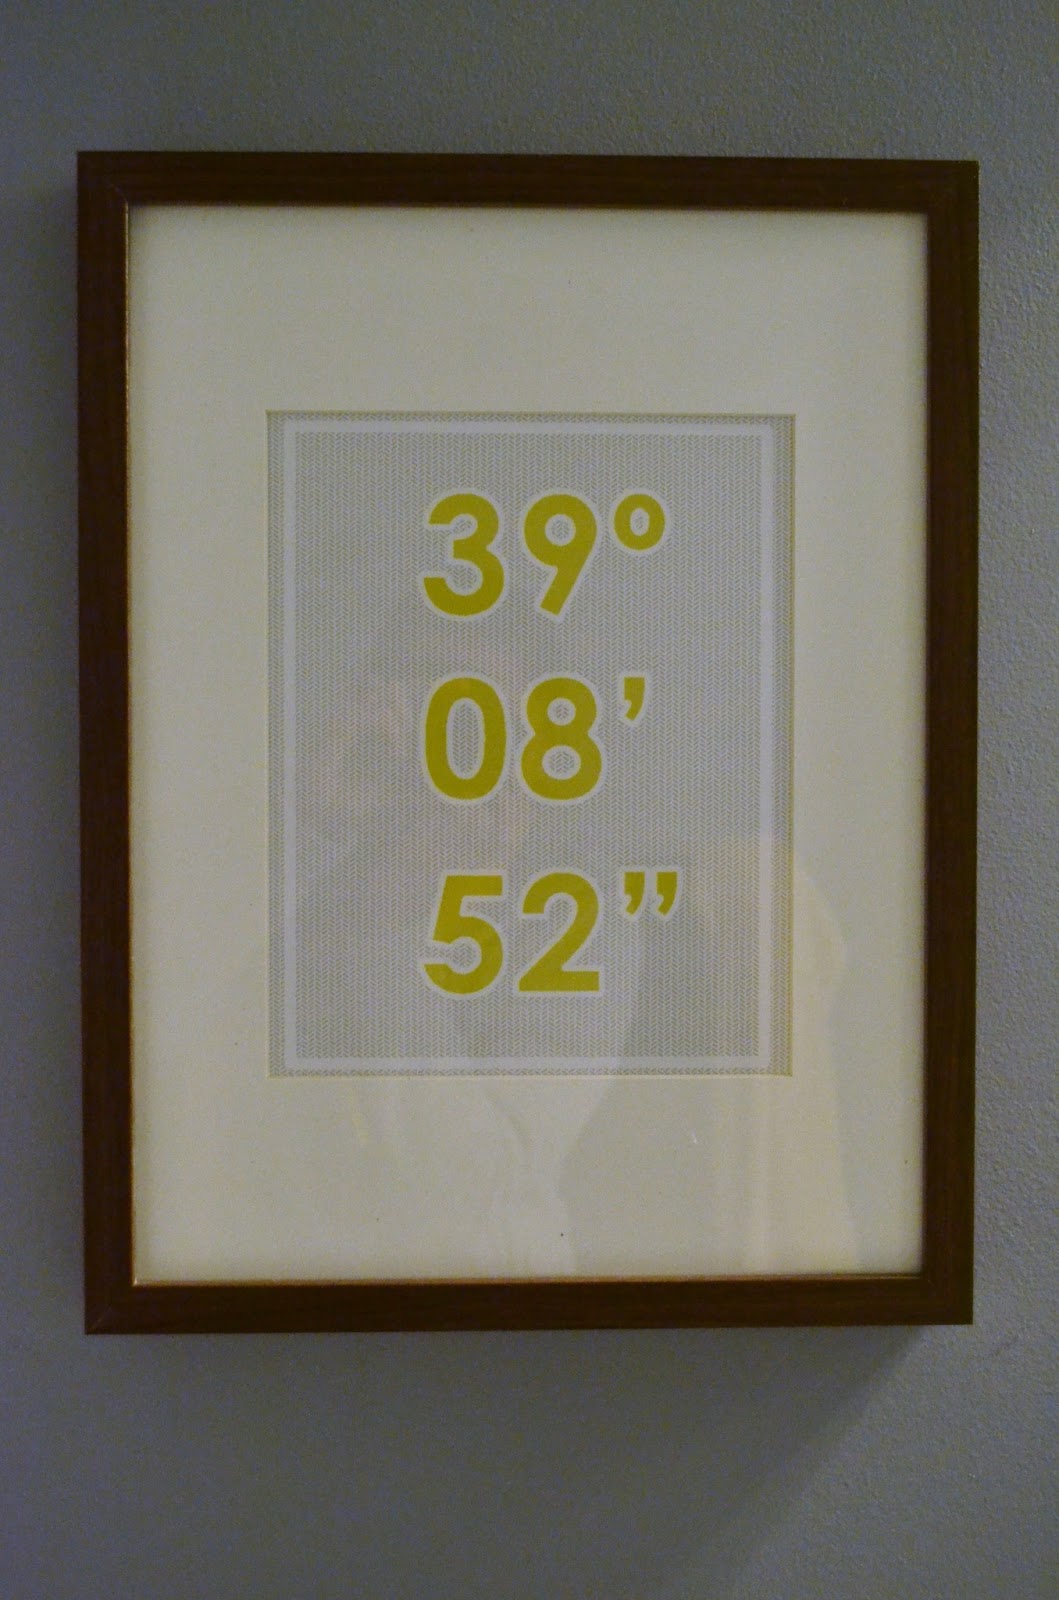
Lattitude printable by yours truly. The background is... herringbone!! Created in Photoshop, printed at home on cardstock, and placed in an odd-dimensioned Ikea Ribba frame.
Bedroom
This is another Ikea Ribba frame, this image is the inside of a VivoBarefoot shoe box. The inside of the box is so creative! (Sorry for the glare)

For about three years, I've been begging Ben to let me buy a new North Face jacket. Well, I finally got my wish in December and then noticed that the bag was perfect for us! I have yet to iron out the creases, but because the bag features a mountain (helloooo- we love Colorado!!), and "Never Stop Exploring" is such a great mantra, I had to be a weirdo and frame the bag. I framed a shoe box, so stranger things have happened around here.


So I'm dedicating this post and walking around the house, shooting some photos of the cheap art I have on the walls. And if you want to know how to make your own cheap art, I'll tell you a little more about them. Here we go!
Office
Here's a big poster print I recently purchased from an artist on fab.com for $20 (minus $10 with coupon) and mounted on foam core from Dollar Tree. Not fun fact: I had a little mutual-fault fender bender in the parking lot, so technically that foam core actually cost me more than $1...

Shadow box, Ikea frame. I threw a bunch of fun mementos (and continuously adding) into the frame. So far, a NYC marathon bib, IU vs. Ohio State football tickets, a piece of quartz from the Colorado Rockies, and string from a Mike's Pastry box in Boston. I couldn't bring myself to throw these things away. Proof that I'm a closet hoarder?


Entry
Ah, my Chevron paint chip art! I still love this. It's sitting on a picture ledge in the entry way. For the price of free, you can't beat it.

Here's my very first DIY project: a knock-off of a Crate and Barrel art print. Since Ben & I are all about numbers, this was really fun - it's actually a set of two, but I can't remember where the second one is...! If you look closely, you'll find some hidden numbers that are personal to us (nope, I didn't hide my social security number in it)-- zip codes, addresses, phone numbers.

Mantel
At left is the faux-zinc letter I made out of a recycled cereal box and a little acrylic paint. Next to it is a framed piece of fabric. (Fun fact: the fabric was cut off of my mom-in-law's tunic top that she got in Spain.) It's really pretty fabric!
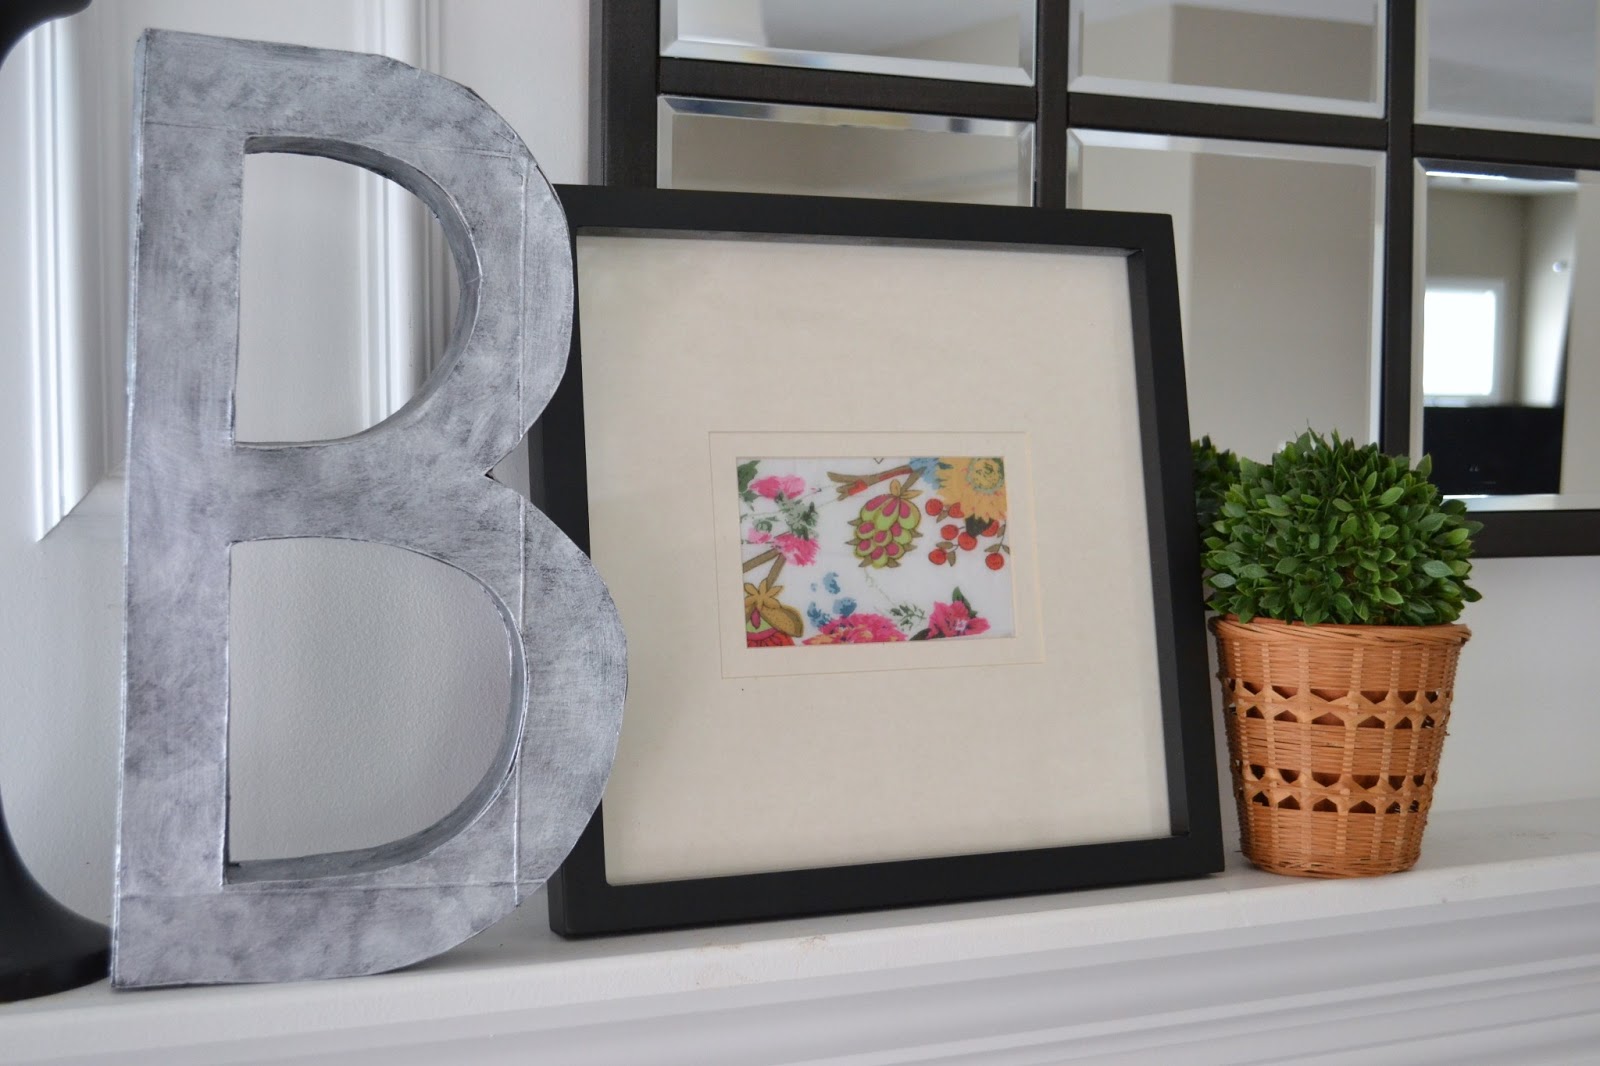
Another little Goodwill find project. This was a frame that I painted. The "8" tag was from the $1 section at Michaels last Fall.

Behind all of that is my crown masterpiece, the project that took forever and a half but was worth it: my DIY knock-off of the Pottery Barn Eagan mirror. Here it is, whole mantel and all.

Kitchen Drop Spot (...because it doesn't have a name)
Moving on, I have a few things on this little demilune table near the kitchen. At left: a free customizable printable from Wedding Chicks. Then, another Ikea shadow box inspired by Young House Love, filled with some keys and fun mementos. No, that's not a real ring - it's probably worth $3 if I'm lucky but was a part of our love story. :) Note: if you do this yourself, I suggest using Zots and not hot glue. The rock kept falling off! Vase is from Ikea, and the green bowl is from West Elm.

Dining Nook
The items filling frames in the gallery wall were intended to be temporary, so here's the dining nook.
This, below, is a West Elm napkin glued to an Ikea frame back. I made the knot out of cord used for piping (sewing), from Hobby Lobby. If you do this, tie up the ends of the cord with tape, or else it'll fray. The cord is secured to the napkin with painter's tape (sshh! no one else EVER know!)

.jpg) The full gallery wall, starting clockwise from 1 o'clock:
The full gallery wall, starting clockwise from 1 o'clock:1) "B" Monogram printable, another free customizable printable from Wedding Chicks. Thrifted frame with a scrap fabric-covered mat.
2) Watercolor painting. Watercoloring is fun! I made this gradient painting in about 2 minutes. A close-up is below. This is an Ikea frame.
3) Ampersand on canvas. Painter's tape + grey paint.
4) Bloomington run map. I actually ran a route that traced heart shape around Bloomington. Don't recommend - who knows what seedy parts of town you'll end up in!
5) Ikea tree print. Black and white tree "scribble" art. You can't see it anyway, and unfortunately, it's no longer sold at stores.
6) Pre-made black and white nature print. Purchased at Garden Ridge circa 2008. A "1" on the exciting scale.
.jpg)
Bathroom
Lattitude printable by yours truly. The background is... herringbone!! Created in Photoshop, printed at home on cardstock, and placed in an odd-dimensioned Ikea Ribba frame.
Bedroom
This is another Ikea Ribba frame, this image is the inside of a VivoBarefoot shoe box. The inside of the box is so creative! (Sorry for the glare)

For about three years, I've been begging Ben to let me buy a new North Face jacket. Well, I finally got my wish in December and then noticed that the bag was perfect for us! I have yet to iron out the creases, but because the bag features a mountain (helloooo- we love Colorado!!), and "Never Stop Exploring" is such a great mantra, I had to be a weirdo and frame the bag. I framed a shoe box, so stranger things have happened around here.